Ahojte phonegrapheri!
V predošlom DIY článku som vám ukázal ako si veľmi jednoducho dokážete zostrojiť teleobjektív pre váš smartphone. V tom dnešnom budeme potrebovať presne tie isté pomôcky a dokonca aj postup, ktorý sa až v závere bude odlišovať od toho s teleobjektívom.
Preto aby som nemusel robiť dvakrát rovnaký príspevok pre tích, ktorí nevedia ako sme sa dostali po tento krok, pozrite si predchadzajúci článok, ktorý nájdete TU.
Hello phonegraphers!
In my previous DIY post I showed you how to easily make a DIY telelens for your smartphone.
For this DIY we'll need exactly the same stuff as for the previous one and also some steps will be the same, so because of that I'm not going to write exactly the same post again.
For those who don't have any idea how I made it to this step, watch the tutorial here and then continue with this one :).
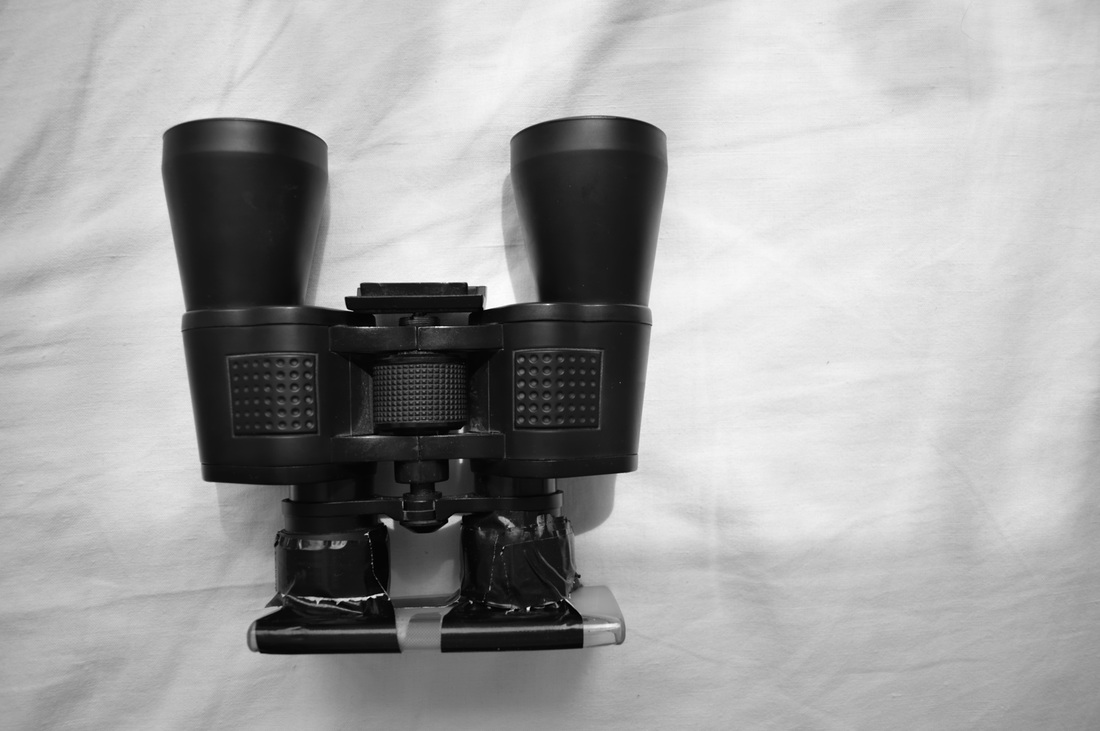
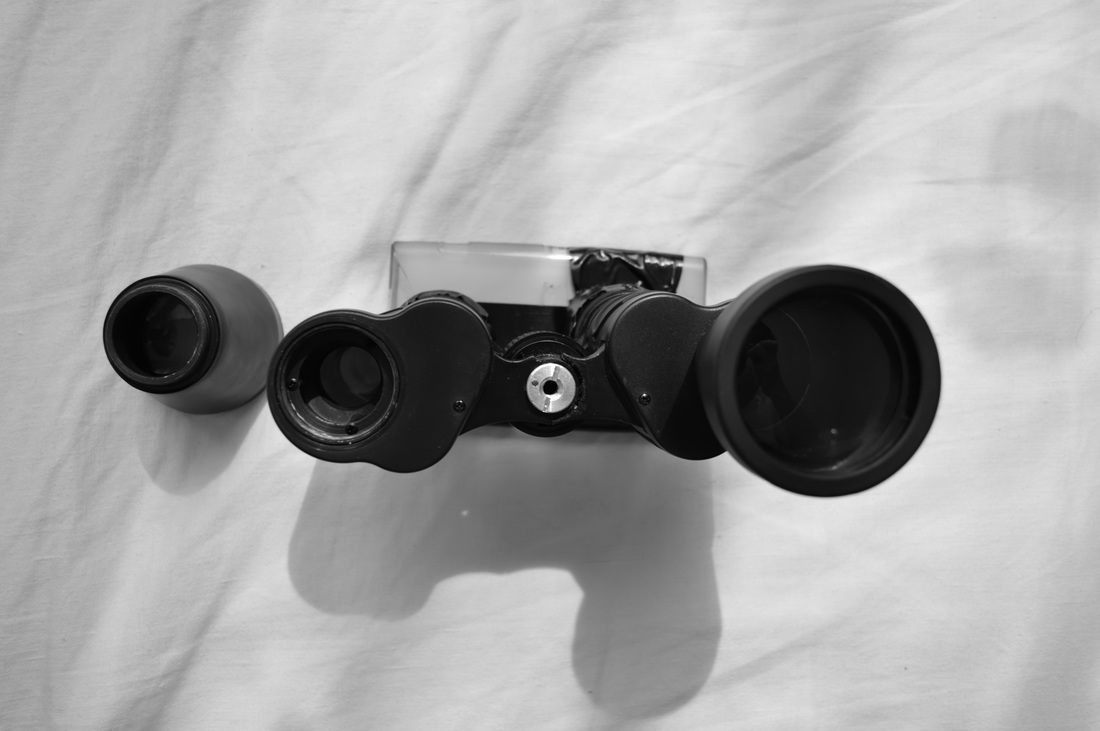
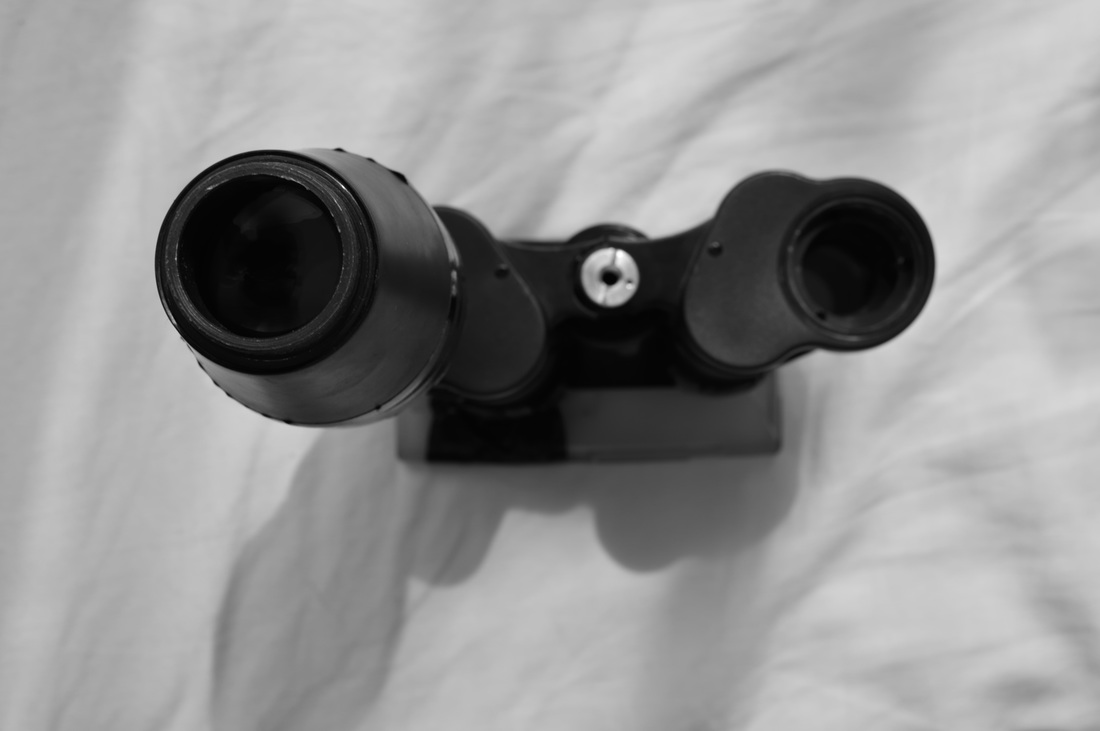
Takže prvý krok, ktorý urobíme bude, že odkrútime ten objektív, na ktorého strane sa nachádza okulár, ktorí nebudeme používať.
The first step we are going to do is to remove that lens you're not going to use. (If your case is on left side remove that one on the right side or vise versa.
The first step we are going to do is to remove that lens you're not going to use. (If your case is on left side remove that one on the right side or vise versa.

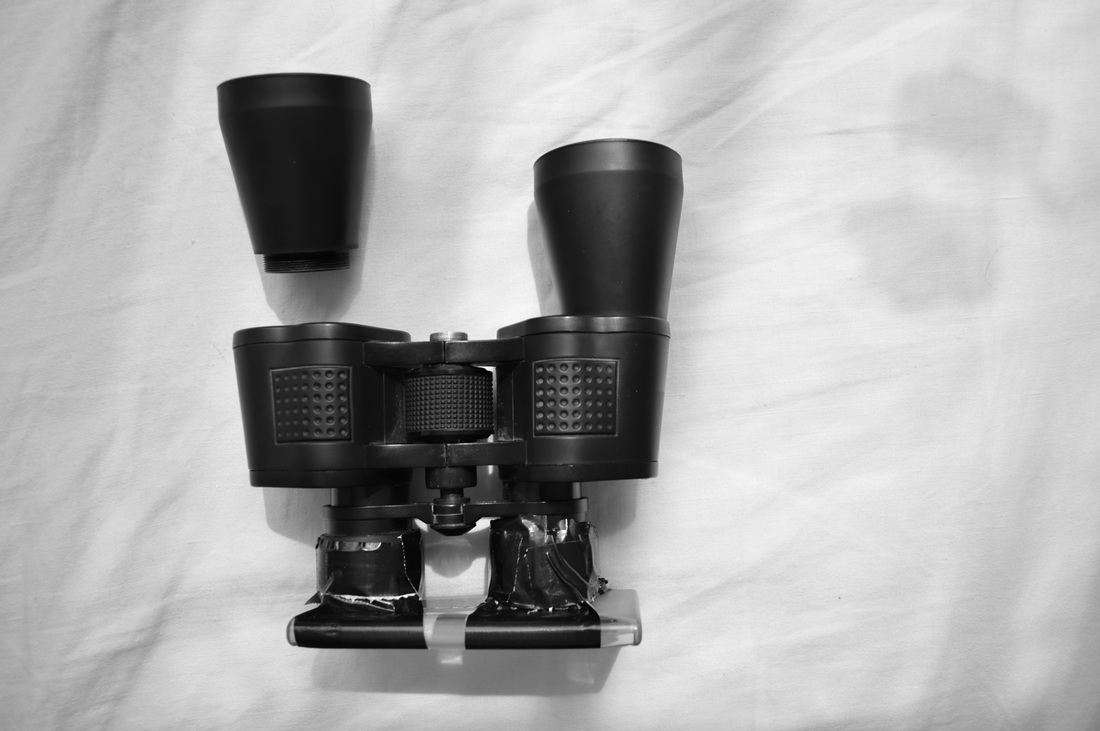
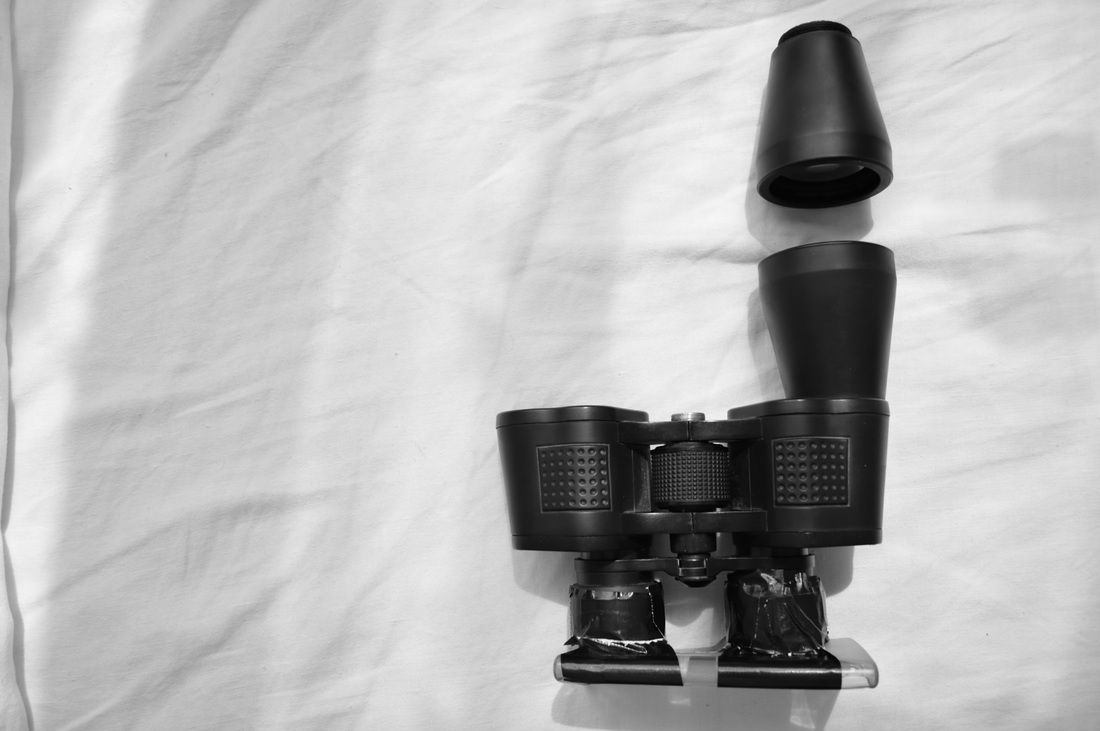
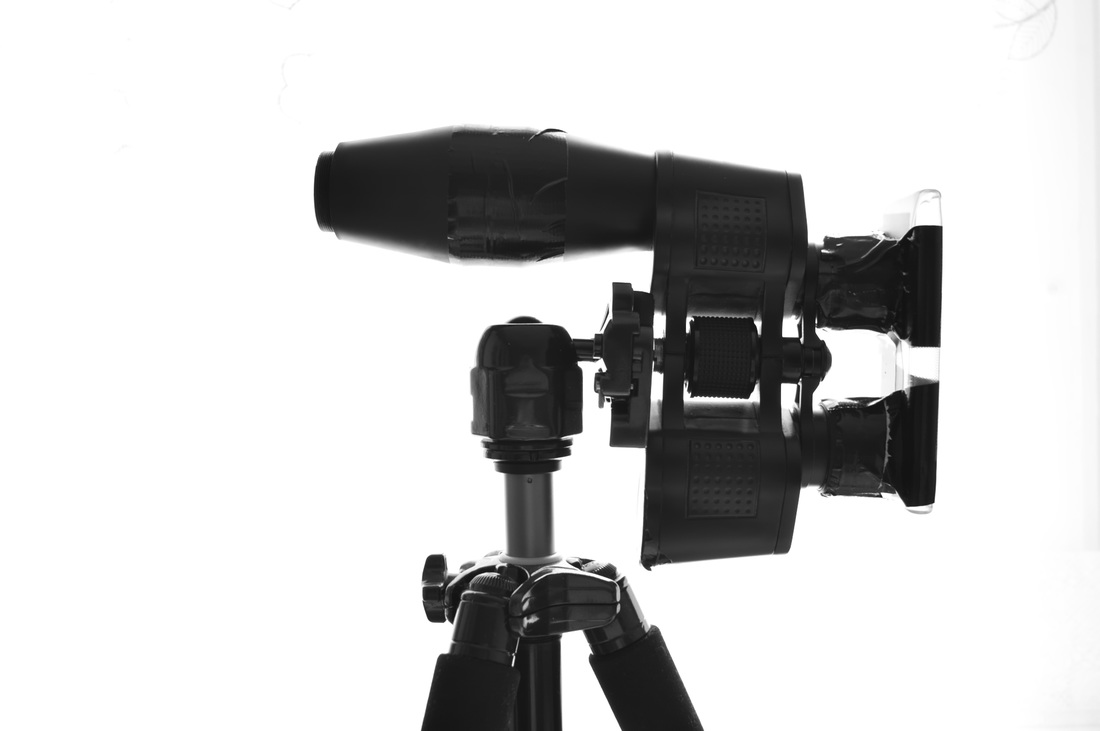
Po tom ako objektív uvolníme, obrátime ho tak ako môžete vidieť na obrázku nižšie. Ešte pred tým ako to urobíte vám radím, obe šošovky pekne vyčistiť.
Po tom ako ich máte vyčitenené, oba spojíme dokopy lepiacou páskou.
After you remove that lens, turn it upside down as you see on the picture below. Before you are going to stick it together, pay attention to keep both lenses clean.
Po tom ako ich máte vyčitenené, oba spojíme dokopy lepiacou páskou.
After you remove that lens, turn it upside down as you see on the picture below. Before you are going to stick it together, pay attention to keep both lenses clean.
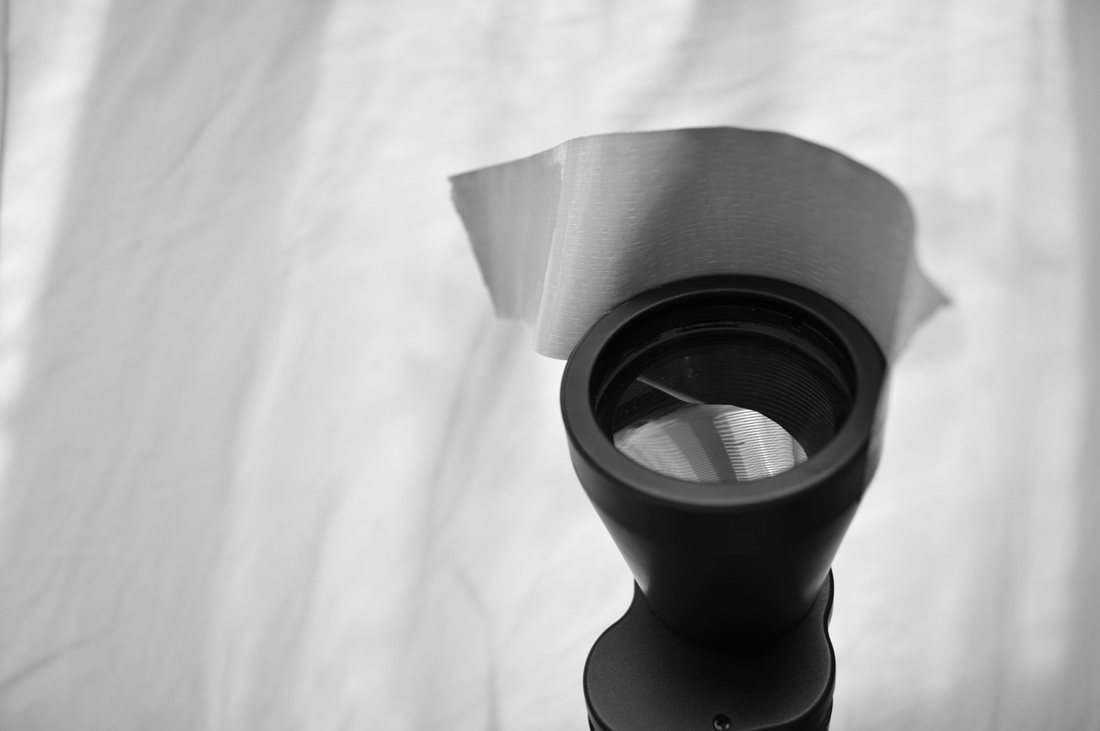
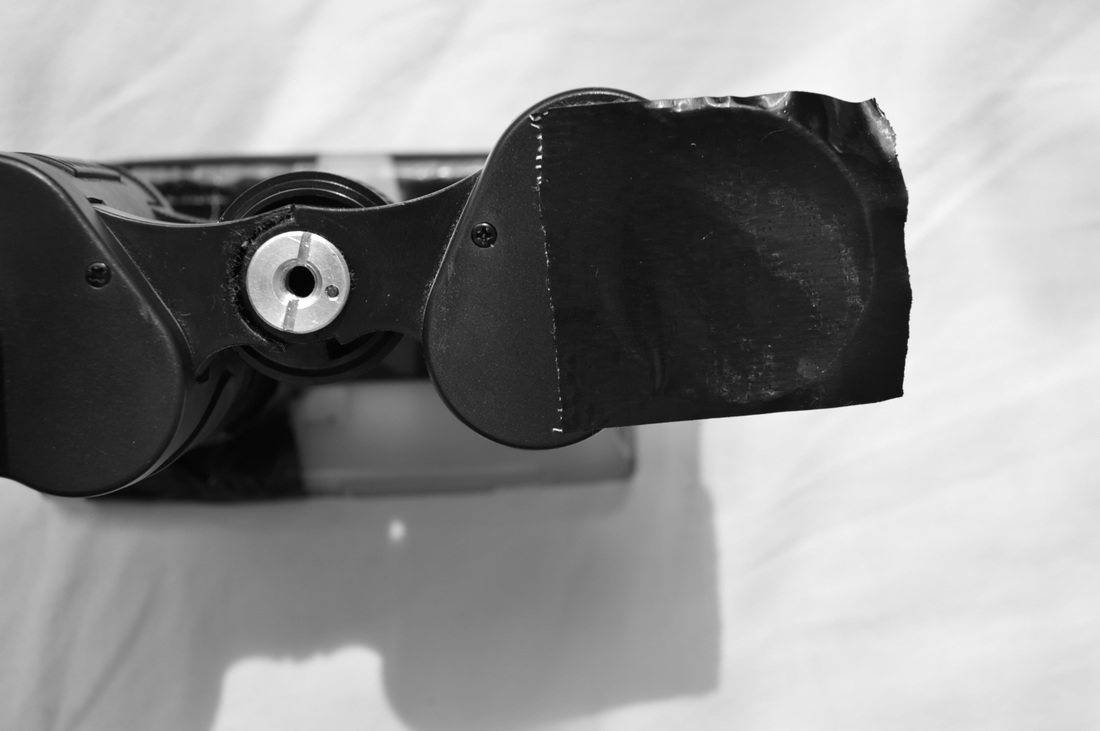
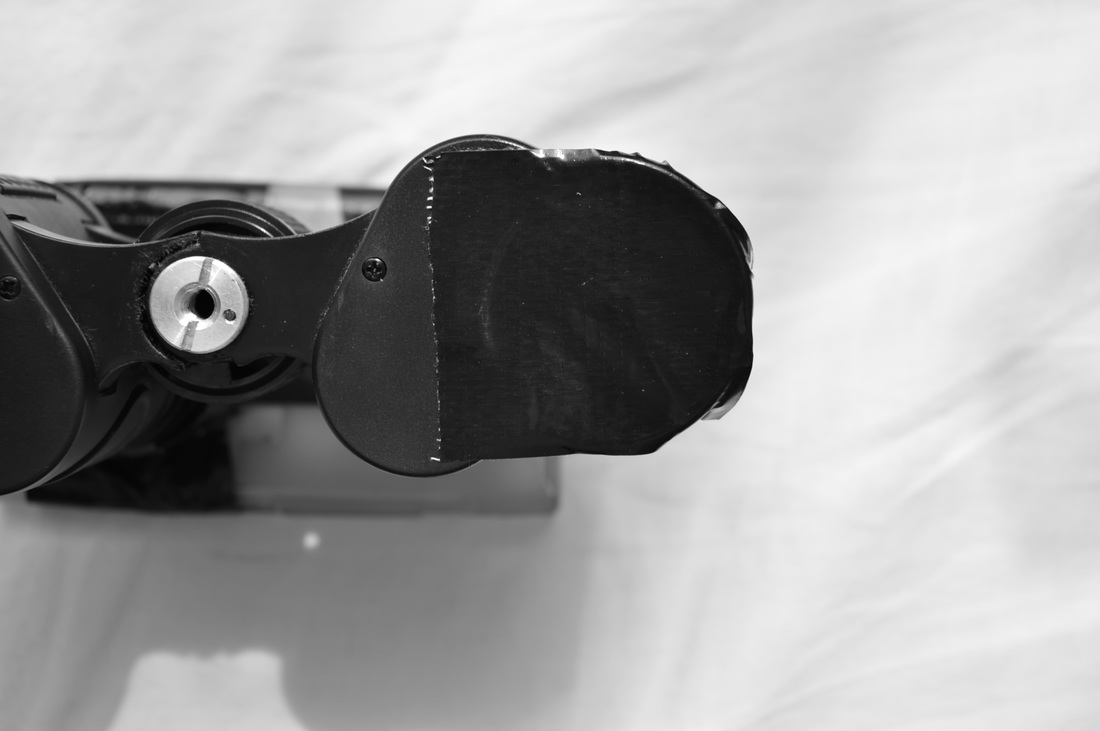
Po tom čo z jednej strany objektív odstraníte, ostane vám tam voľné miesto kadiaľ by sa vám dnu mohla dostať nečistota - z toho dôvodu odporúčam jednoducho otvor prelepiť kúskom pásky.
After you remove the lens, there will be a hole which is good to cover with a tape (dust etc. wont be able to go there)
After you remove the lens, there will be a hole which is good to cover with a tape (dust etc. wont be able to go there)
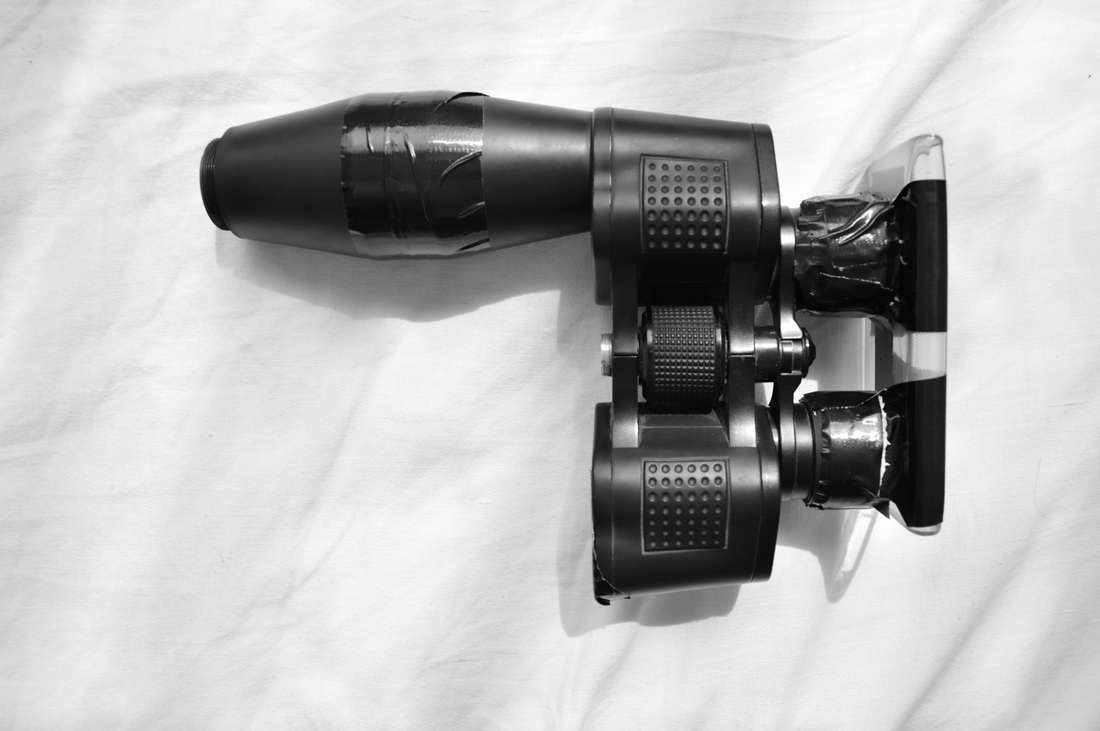
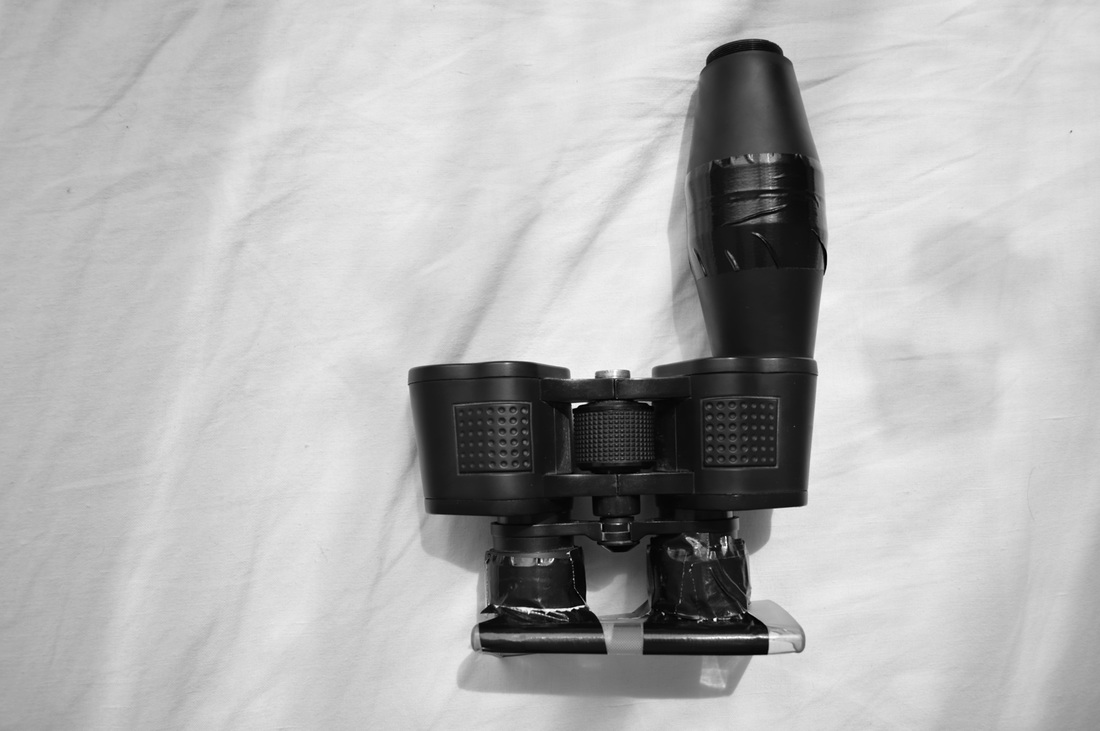
Hotovo! Týmto pádom máte váš DIY makro objektív hotový, stačí už iba do krytu vložiť telefón a začať fotiť. :) Jednoduché, nemyslíte?
Well done! Your macro lens is ready to use, the last thing you have to do is put your smartphone into the case :). How easy, isn't it?
Well done! Your macro lens is ready to use, the last thing you have to do is put your smartphone into the case :). How easy, isn't it?
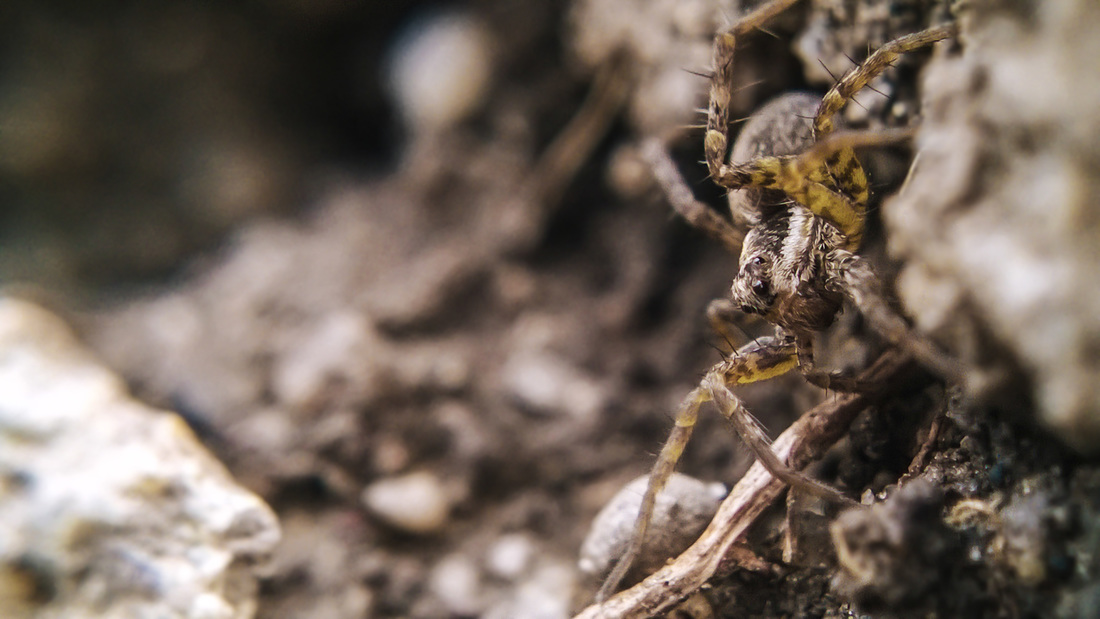
Výhody: oproti môjmu prvému DIY makro objektívu s týmto môžete fotiť z väčšej vzdialenosti od objektu (11cm), možnosť použiť statív, zachytáva väčšie okolie okolo foteného objektu, krásny bokeh
Nevýhody: väčšia hmotnosť a menšia kompaktnosť, o niečo menší zoom ako pri prvom DIY makro objektíve + nutnosť použiť digitálny zoom pre obsiahnutie celej obrazovky vašeho mobilného telefónu.
Zhrnutie: záleží od toho čo chcete fotiť, no mne sa rozhodne lepšie fotí s týmto, ako s tým prvým DIY makráčom :)
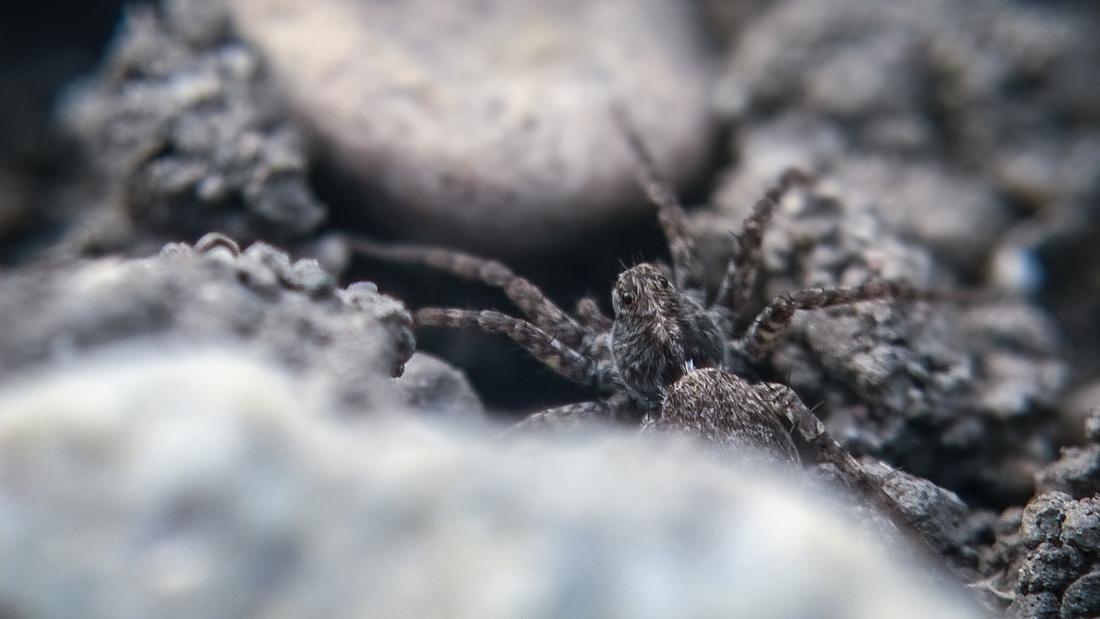
Na záver dodám mnou urobené "testovacie" zábery. :) Enjoy!
HQ fotky TU
+ : you can take photos from bigger distance (11cm) than with my prievious one DIY macro lens, also depth of field is way better, nice bokeh, you can mount it to a tripod
- : when I compare this one to my previous DIY macro lens this one is much heavier, you have to use digital zoom
Conclusion: It depends on what do you want to take photos of but I definitely prefer this one than my first macro lens. :)
I'll end up with some test shots. :) Enjoy!
HQ photos HERE.
Nevýhody: väčšia hmotnosť a menšia kompaktnosť, o niečo menší zoom ako pri prvom DIY makro objektíve + nutnosť použiť digitálny zoom pre obsiahnutie celej obrazovky vašeho mobilného telefónu.
Zhrnutie: záleží od toho čo chcete fotiť, no mne sa rozhodne lepšie fotí s týmto, ako s tým prvým DIY makráčom :)
Na záver dodám mnou urobené "testovacie" zábery. :) Enjoy!
HQ fotky TU
+ : you can take photos from bigger distance (11cm) than with my prievious one DIY macro lens, also depth of field is way better, nice bokeh, you can mount it to a tripod
- : when I compare this one to my previous DIY macro lens this one is much heavier, you have to use digital zoom
Conclusion: It depends on what do you want to take photos of but I definitely prefer this one than my first macro lens. :)
I'll end up with some test shots. :) Enjoy!
HQ photos HERE.