Hello guys! :) After a little break welcome to our newest post in our post production series. Today I'm going to show you how to create your own - unique - filter in the application called Afterlight. If you haven't read my review of this app, you can check it out here.
The latest update of this app brings us a new function called - Fusion, which allows us to create as many new filters as we want.
I'll show you a complete post production of one of my photos and then I'll add 2 more examples as before/after with the filter I'll create.
The latest update of this app brings us a new function called - Fusion, which allows us to create as many new filters as we want.
I'll show you a complete post production of one of my photos and then I'll add 2 more examples as before/after with the filter I'll create.
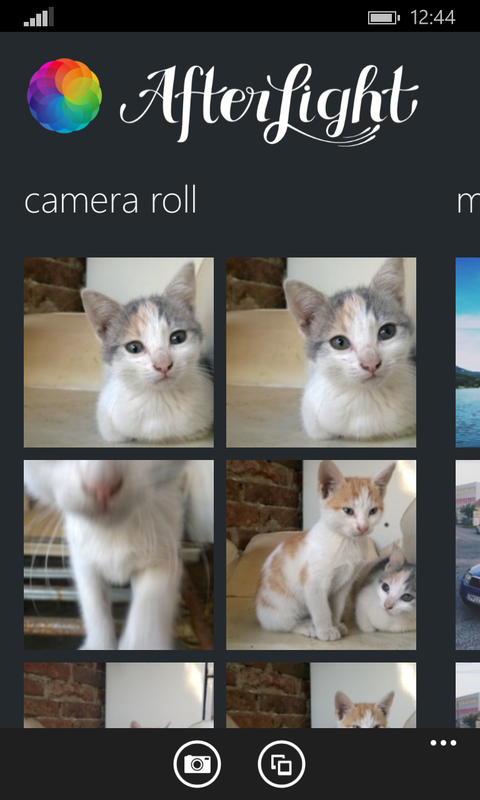
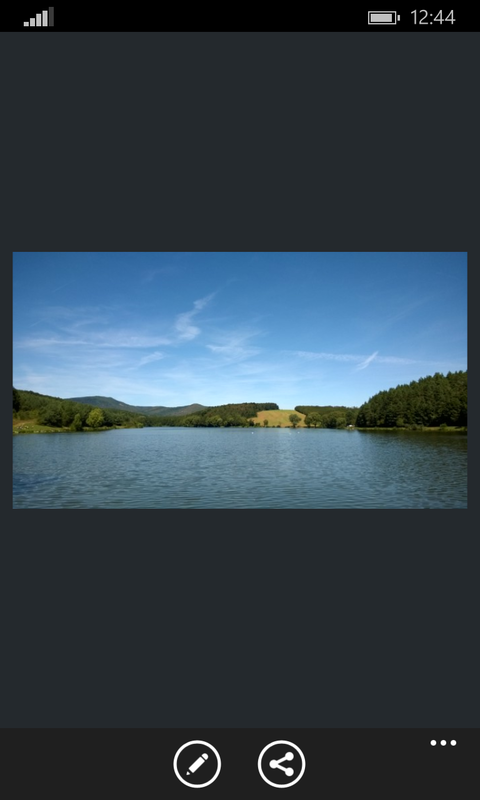
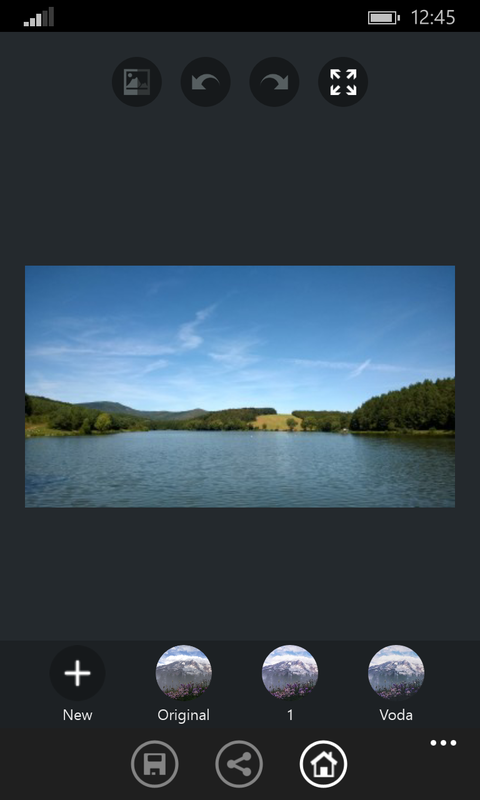
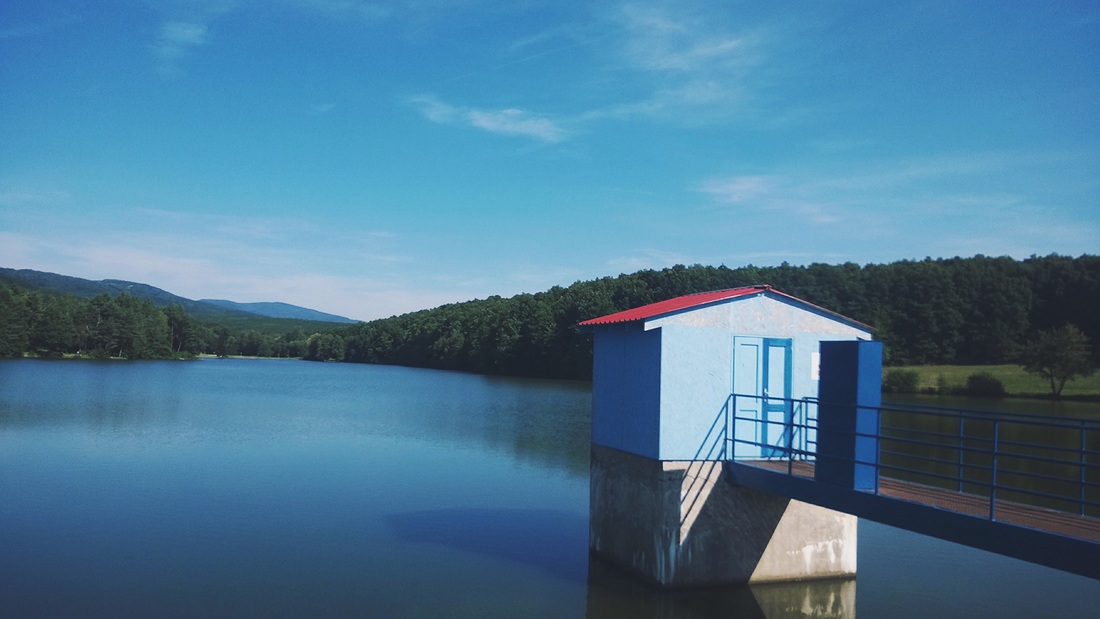
Firstly you have to open your Afterlight app and find some photos to edit. I'm going to make a brand new filter for my photos showing some stuff with water.
TIP: This function is really useful when you've got more photos from the same location because you don't have to spend so much time by editing. Once you'll create a filter which works for one of them I'm sure it will looks good on the others too.
TIP: This function is really useful when you've got more photos from the same location because you don't have to spend so much time by editing. Once you'll create a filter which works for one of them I'm sure it will looks good on the others too.
 |  | 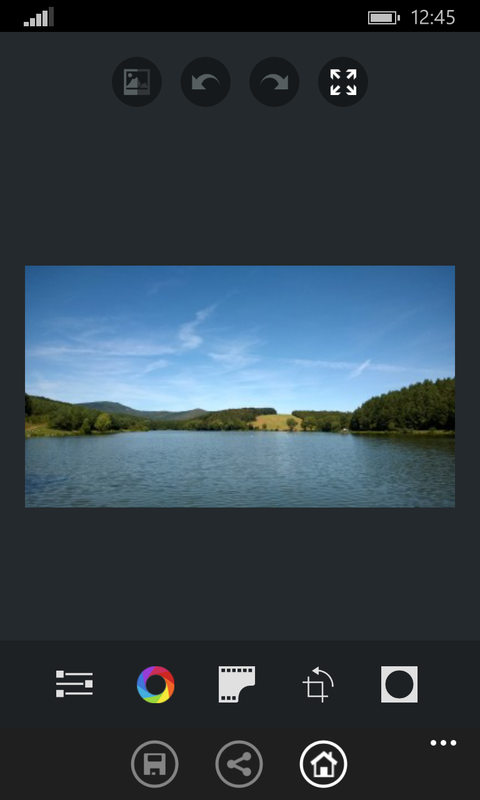 |
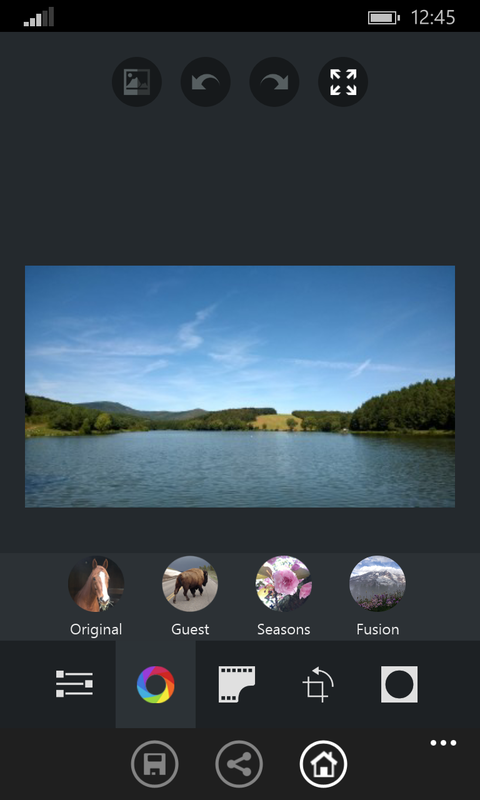
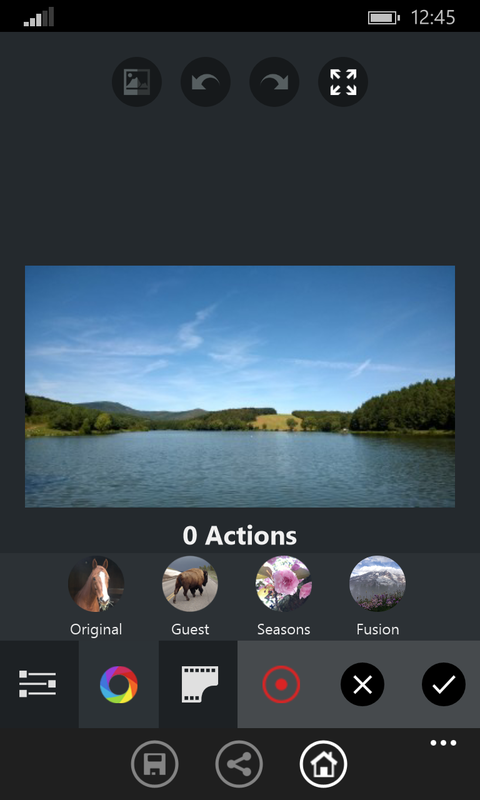
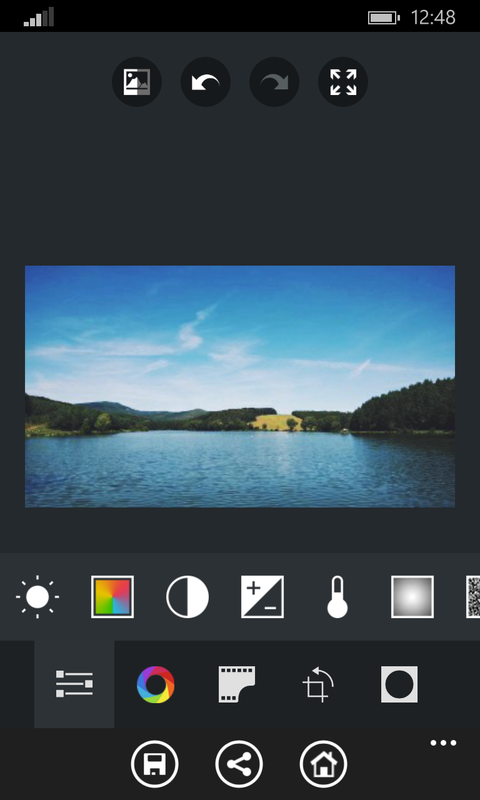
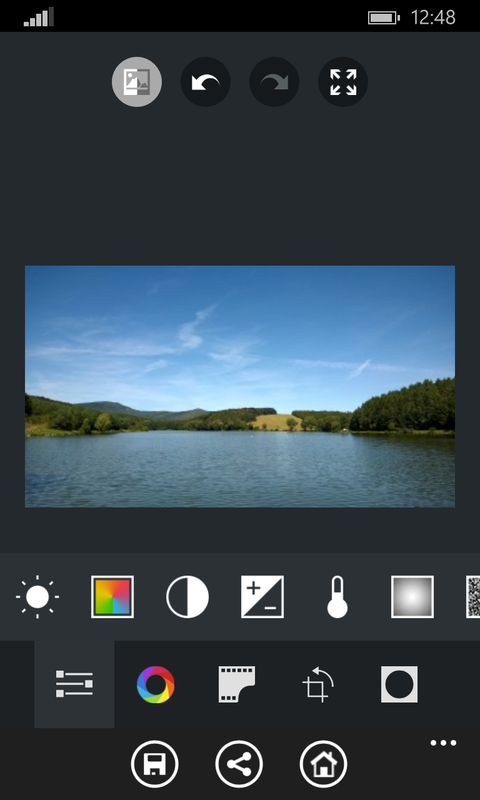
Well, after you choose a photo for editing go directly to the filter section and click on the icon called Fusion. :)
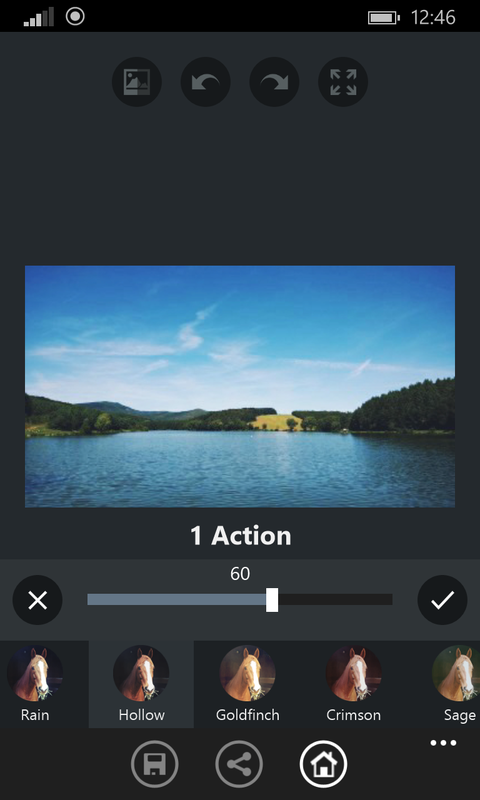
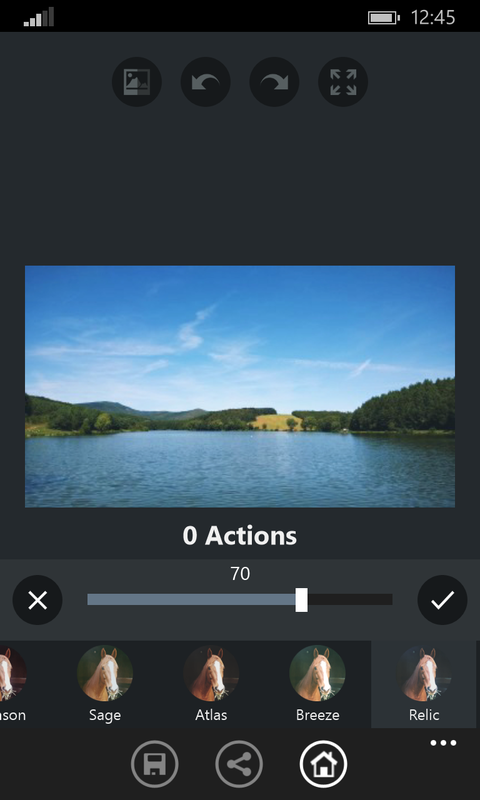
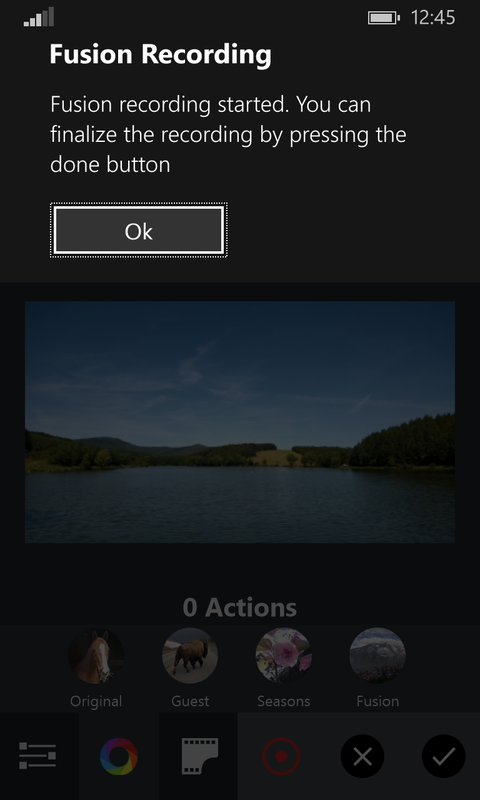
Secondly click on the icon New (you'll receive a warming about recording.). From this moment every your step will be recorded and saved to your new filter. It's up to you what will you combine - you can mix together some filters, add some contrast etc. that doesn't matter :).
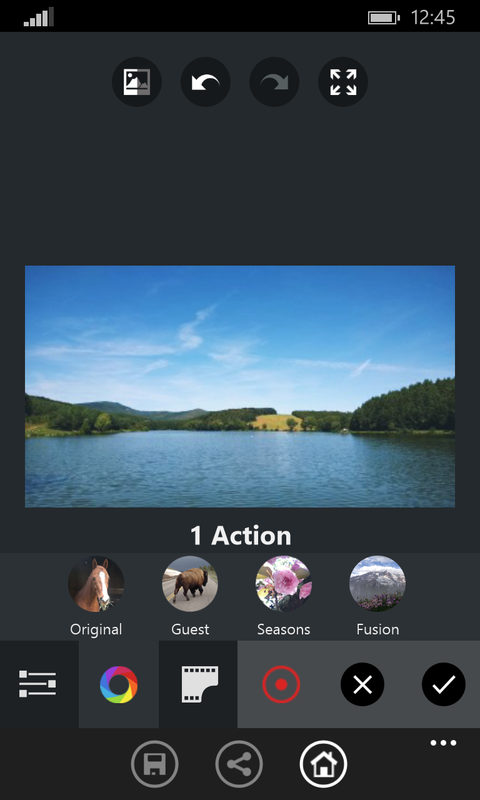
You will see every your action as a number.
TIP: If you don't like what you did, feel free to click on undo button and it will be removed from your filter.
Secondly click on the icon New (you'll receive a warming about recording.). From this moment every your step will be recorded and saved to your new filter. It's up to you what will you combine - you can mix together some filters, add some contrast etc. that doesn't matter :).
You will see every your action as a number.
TIP: If you don't like what you did, feel free to click on undo button and it will be removed from your filter.
   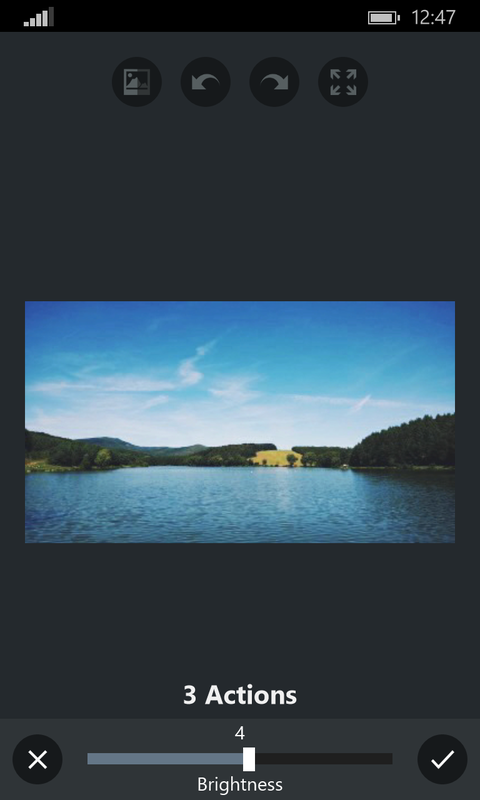  |   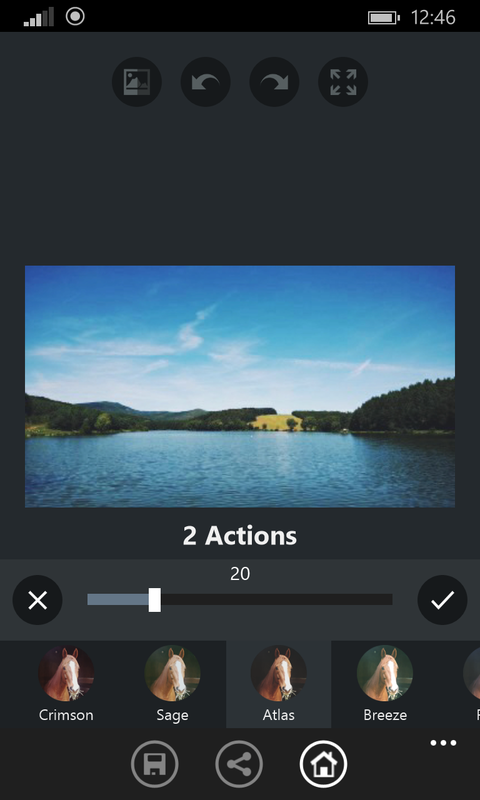 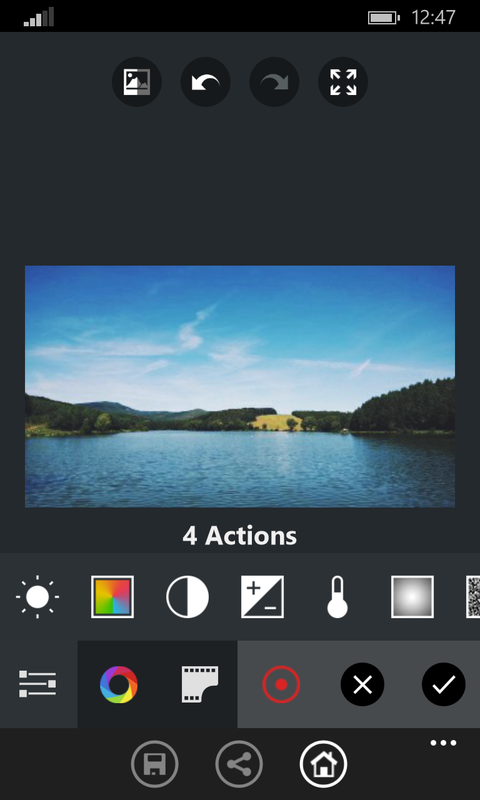  |   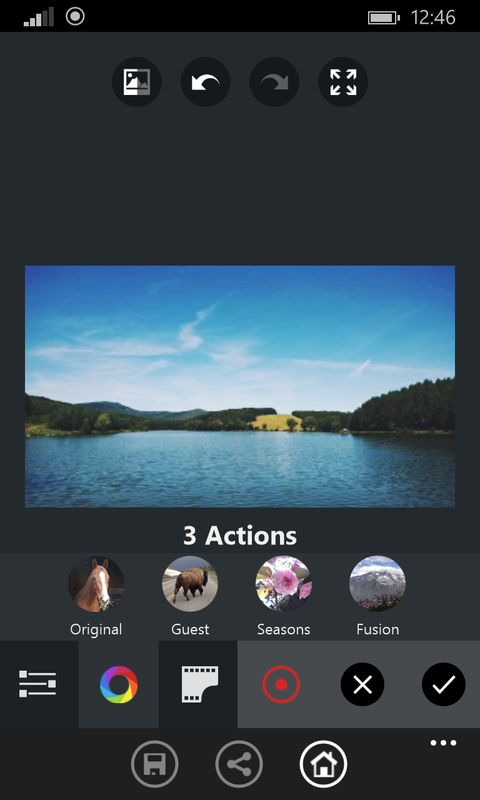   |
While I was creating my own filter I've mixed together 3 filters and add some brightness.
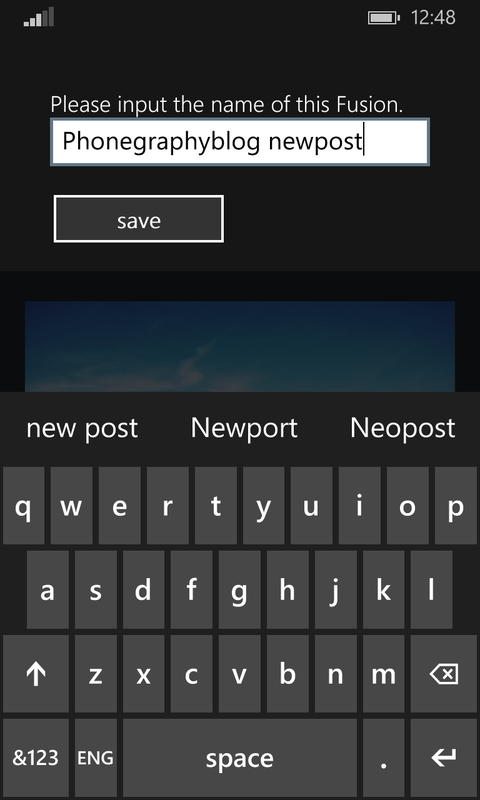
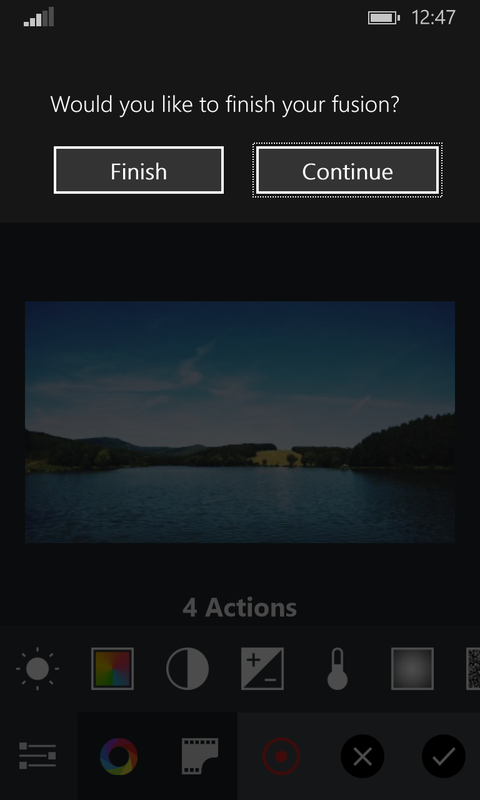
After you're done, you can stop your recording and rename your filter.
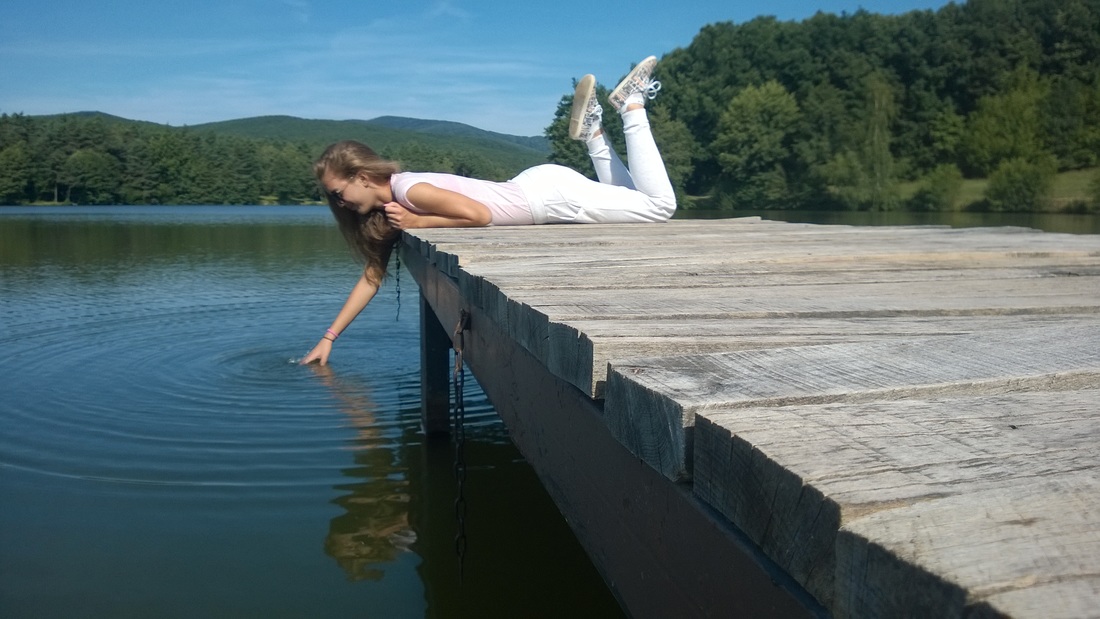
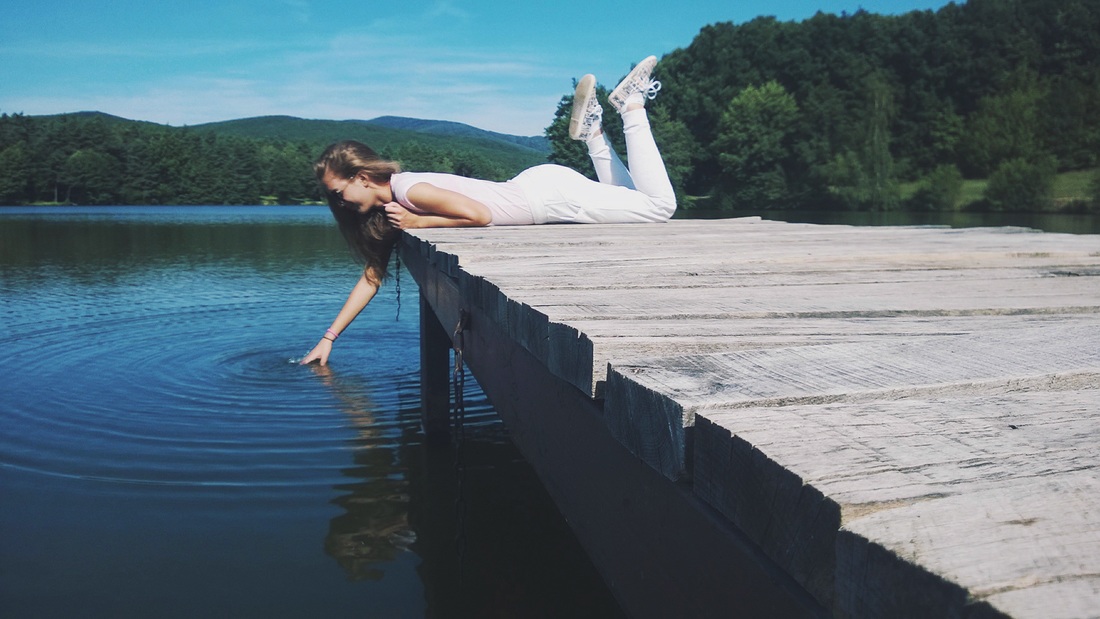
Down below this text is before and after version of this photo in HQ. Enjoy :)
After you're done, you can stop your recording and rename your filter.
Down below this text is before and after version of this photo in HQ. Enjoy :)

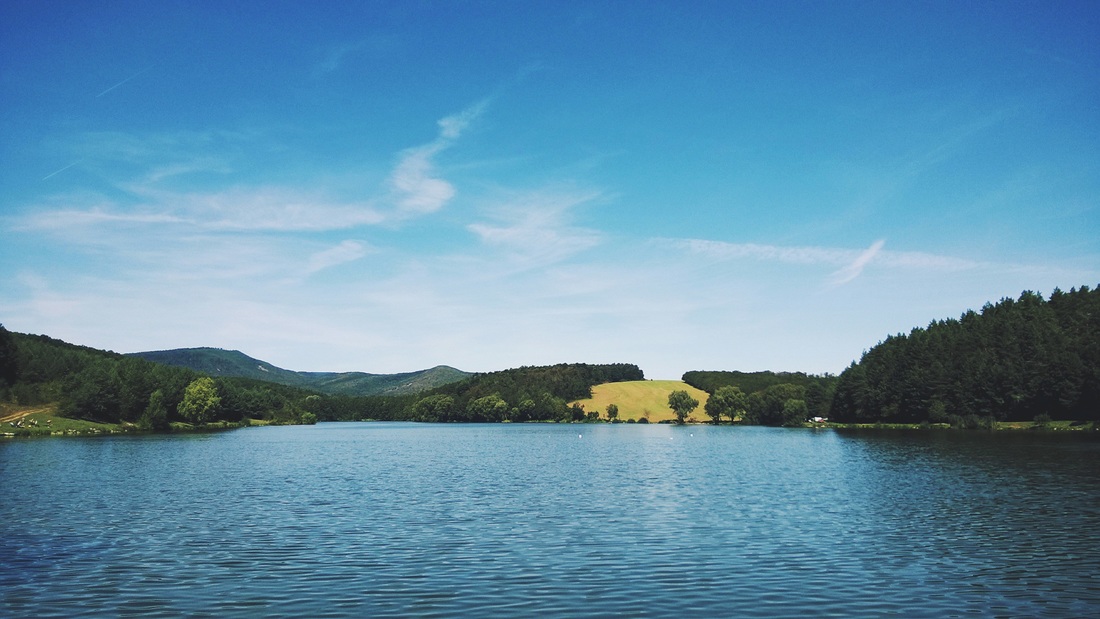
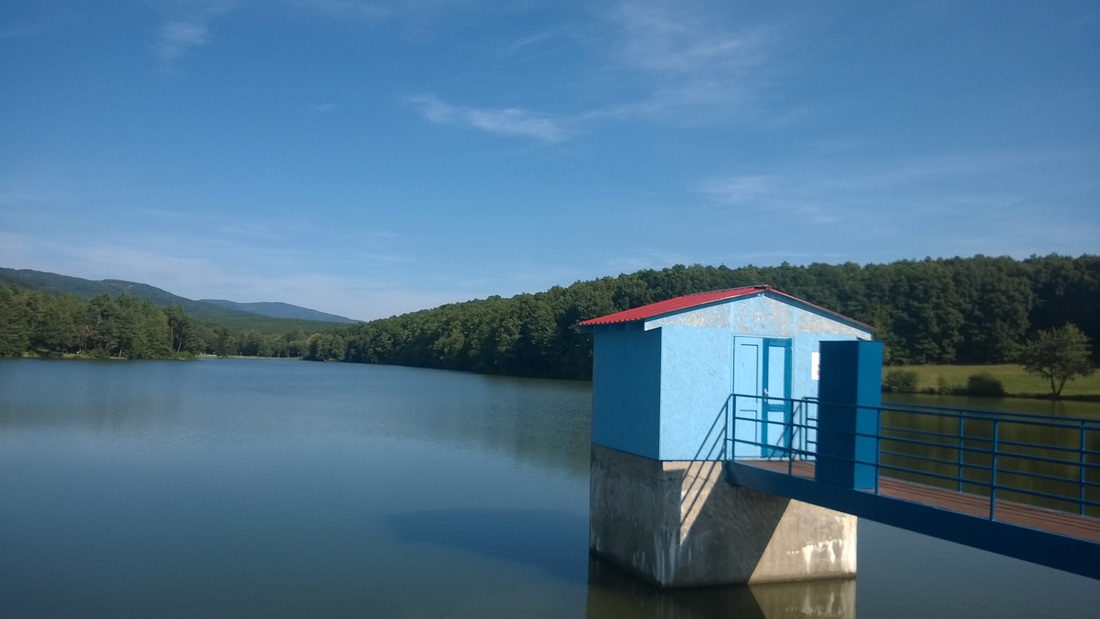
And as I promised, here you can see next 2 photos from another location with the same filter applied on them :).
I think it's pretty cool and really helpful! Guys if you like this post please share it with your friends and follow me on my Instagram. :)
if you haven't add your photos to our big summer competition called #phonegraphysummer do it now :) More information here.
if you haven't add your photos to our big summer competition called #phonegraphysummer do it now :) More information here.
